
After years of yearning, I finally have wings! This is how it all happened.
My Dear Heart helped with the woodwork, as my vertigo had returned, with an ear infection to back it up – not safe to cut things.
Required materials:
- about 8m of pine/wood. I used 8mm-12mm thick x 30mm wide (this will depend on preference).
- Calico (or canvas). I used calico to keep the weight down.
- Tea to age the calico.
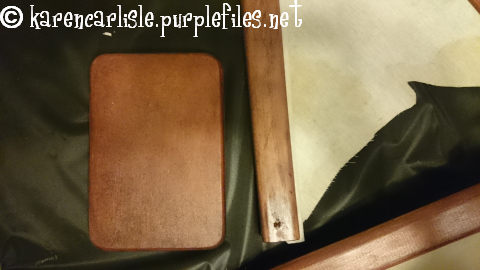
- A piece of MDF approximately 11cm x 16cm for the harness base.
- Two leather belts, buckles etc.
There seems to be many online tutorials for making steampunk wings. Steampunk Circus has a Quintet of Steampunk Wings Tutorials. You may find one to your liking there. I wanted something organic and basic. I found a good place to start, thanks to Yazzzle on Deviantart for The Steampunk Wings Tutorial.
Here is a visual diary of my wings:
1.  2.
2.  3.
3. 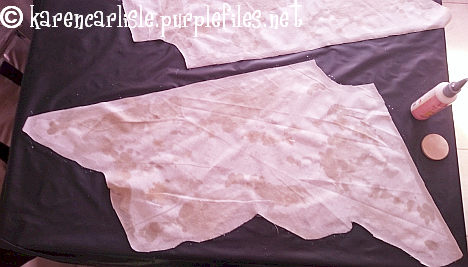
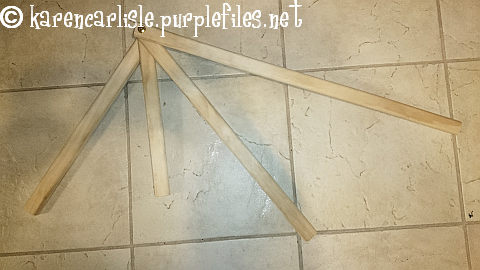
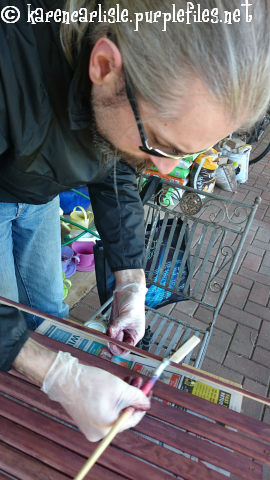
1. The spines are cut and ‘hinged’, ready for staining. 2. Only one layer to make them appear aged. 3. Tea to age the calico wings. Watered down white glue to seal the cut edges.
4.  5.
5.  6.
6. 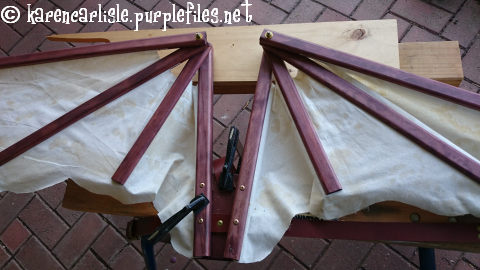
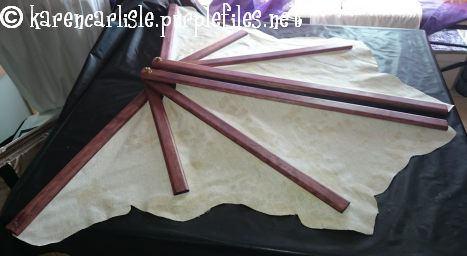
4. Glueing the calico to the wing spines. 5. Cutting the harness base Stained to match. 6. Attaching the wings and harness straps, to sit behind the shoulders.
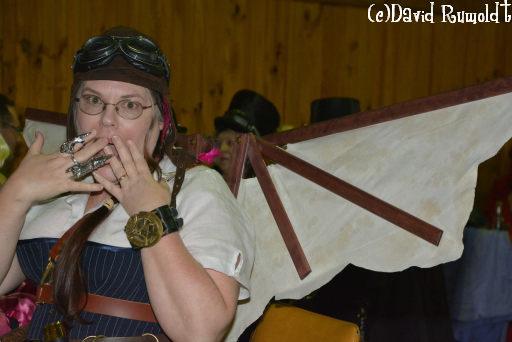
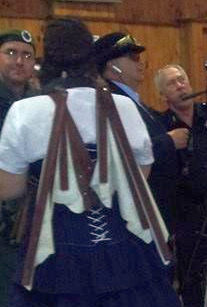
The harness is surprisingly comfortable; the main belt is positioned on the chest and takes up most of the weight. (I even did the Nutbush in them – I forgot I was wearing them). I just have to remember to fold them down when walking in a crowd or through a doorway.
From the front (extended) and the back (folded):
2 thoughts on “On Making My Steampunk Wings.”