
It is done.
After years (and years) of talking about it, I finally pulled my finger out and made it: my TARDIS corset.
As many of you know, I am a big Doctor Who fan and have been regularly watching it since Jon Pertwee days (and irregularly before that). A few years back friend (and fellow writer), George Ivanoff unveiled his TARDIS jacket (made by his dear wife). I was a tad jealous. Now I have my own TARDIS corset (and skirt). And this is how I made it.
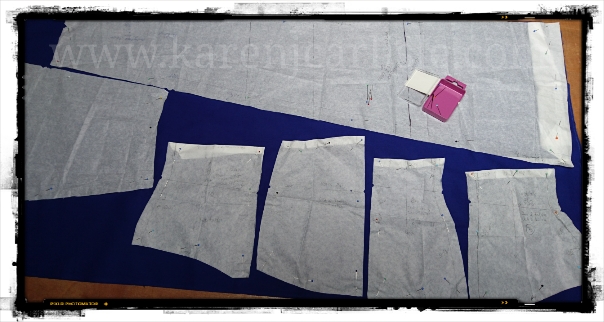
- Pin and cut out pattern on material, and also cut the corset pieces from cotton duck (two layers to sandwich the boning later). Sew the pieces together. (Left side blue pieces together/ left double layer of cotton duck together/ right side blue pieces together/ right double layer of cotton duck together. So you have four separate pieces at the end of this step.)
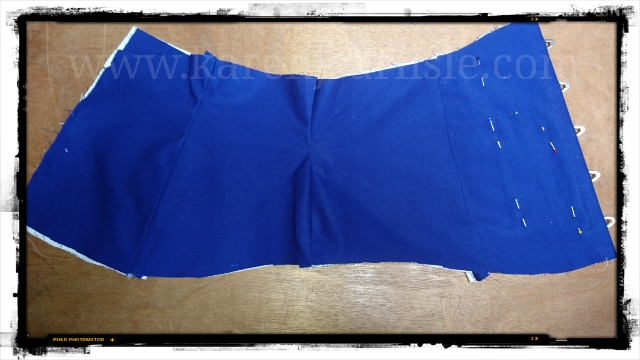
- Pin one side of material to duck layers (right sides together) and sew in the busk (this was an 8 inch one). Size will vary depending on how long the front of your corset is.
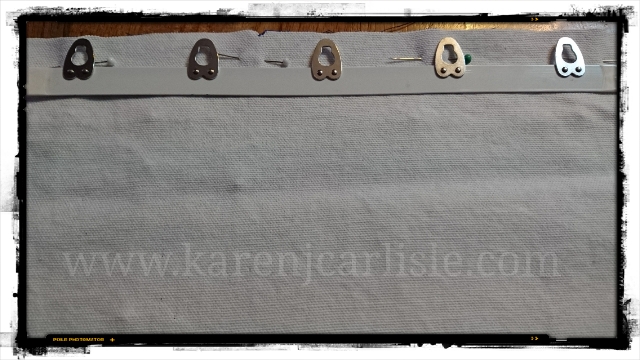
- Turn right way out. Add other side of busk. (You will need to use an awl to make holes in the material to push the ‘lugs’ through.)
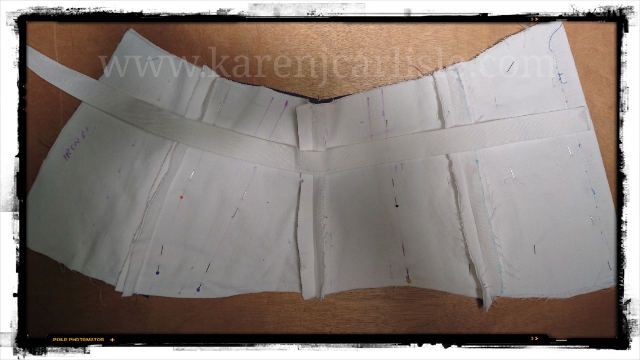
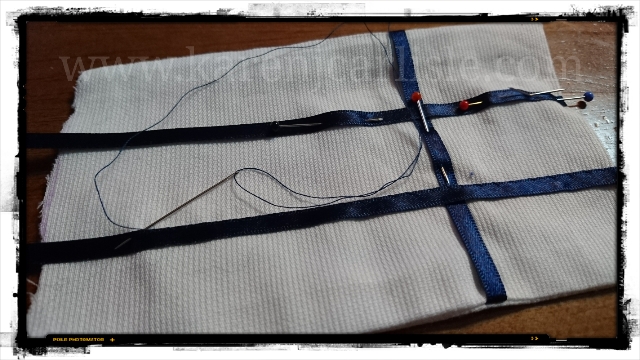
- I added twill tape along the waist. This will help reduce the pull on the corset when laced up. Next I sewed the boning channels in the two layers of duck. A zipper foot is ideal for this.
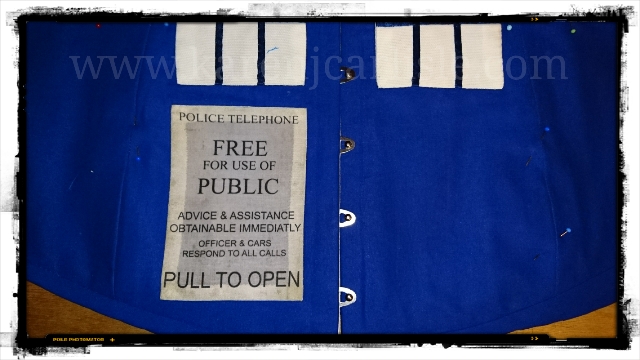
- Now for the pretty decoration. I made windows from white cotton and hand stitch ribbon to create window panes.
- I bought the police box sign from Fandom Fabric’s etsy store. (You can also get versions from Spoonflower). I used HeatnBond Ultrahold (double sided iron-on – from Spotlight) to fuse the windows and police box sign to the material, then hand sewed each item in place.
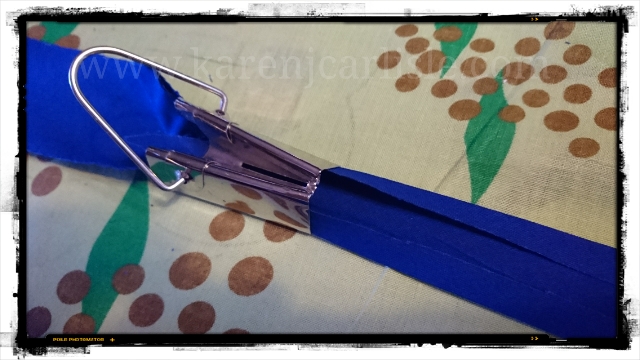
- To make bias – cut 5cm wide strips on the diagonal of the material. Use iron and this neat little gadget to create the bias.
- The bias was pinned on the front edges – top and bottom – then machine-sewed, folded over to the back of the corset and hand stitched in place.
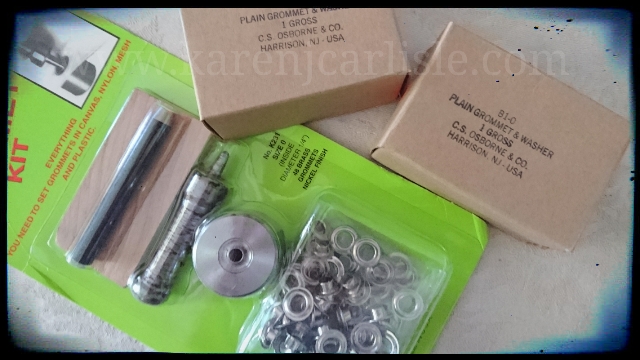
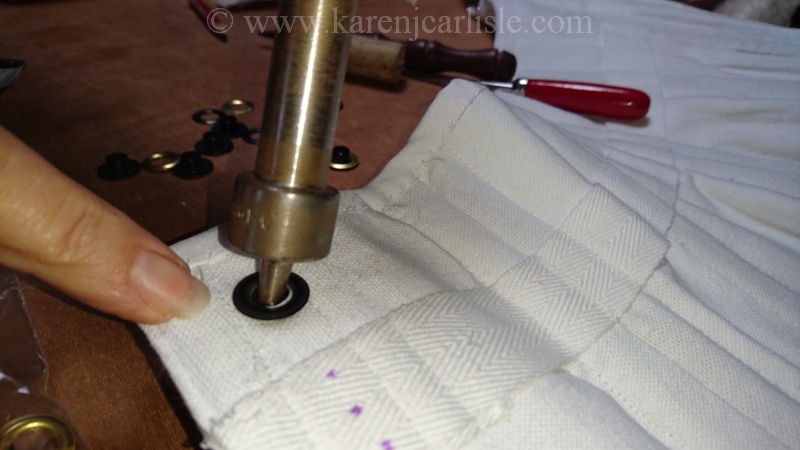
- Mark up the lacing holes (approx 1.5 inches apart), with the two at the waist closer together to allow for the lacing loops. I make the holes with an awl to minimise thread breakage, keeping maximum structural integrity. I use larger grommets. I wear my corsets at costume, steampunk events and conventions; the larger grommets have outlasted smaller versions (for me). I bought the grommets and tool from Farthingale’s corset supplies.
- I needed 5m of corset lacing for this under the bust version. I use 8m for full length corsets. Tie a knot in the middle of the length, crimp on a metal aglet or handsew the ends to form one. The knot is at the centre (between two top eyelets). Lace to the bottom and tie off lacing. Pull a loop out at the two (closer) waist eyelets. These loops are used to pull the lacing tight, then is tied and tucked under the corset.
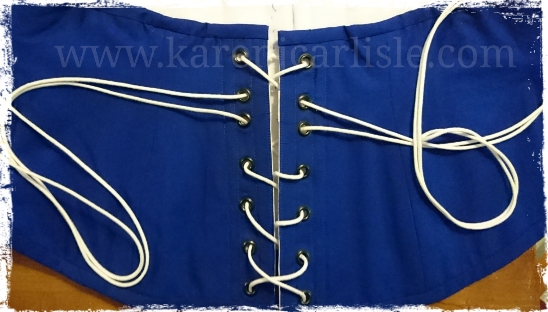
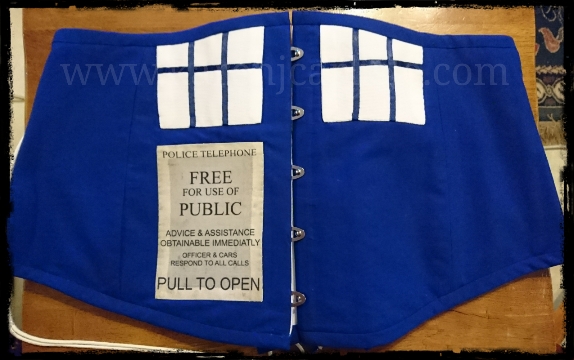
- The finished corset:
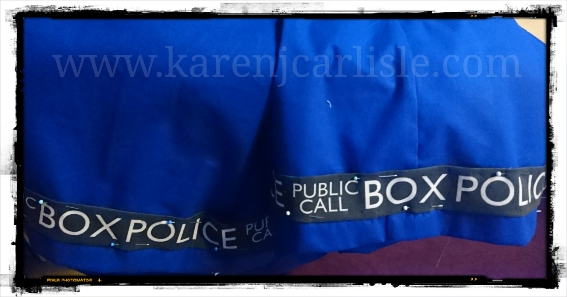
- For the skirt, I purchased one yard of ‘Police Box’ print from Spoonflower (ID:767279) There are many versions. I cut every second line of print (to allow enough fold over) and created a ‘non-bias’ strip using the bias making gadget.
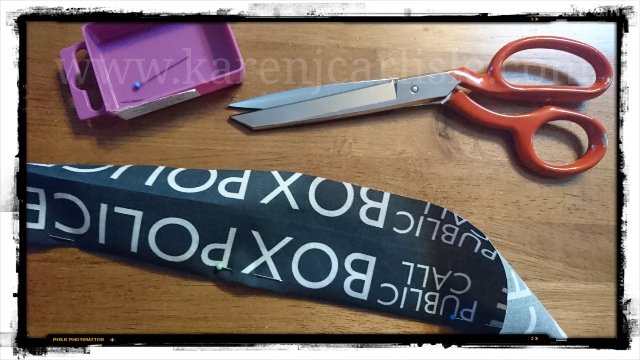
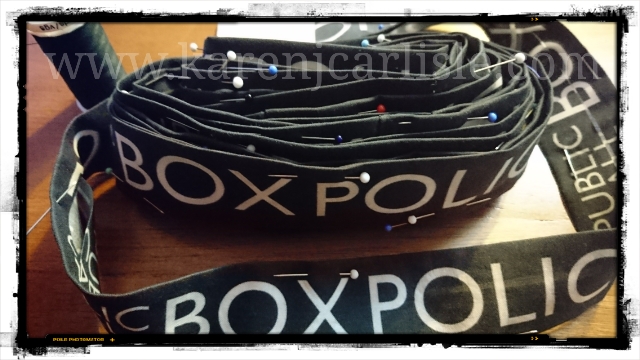
- I pinned and sewed the strip along the bottom of the skirt (after hemming).
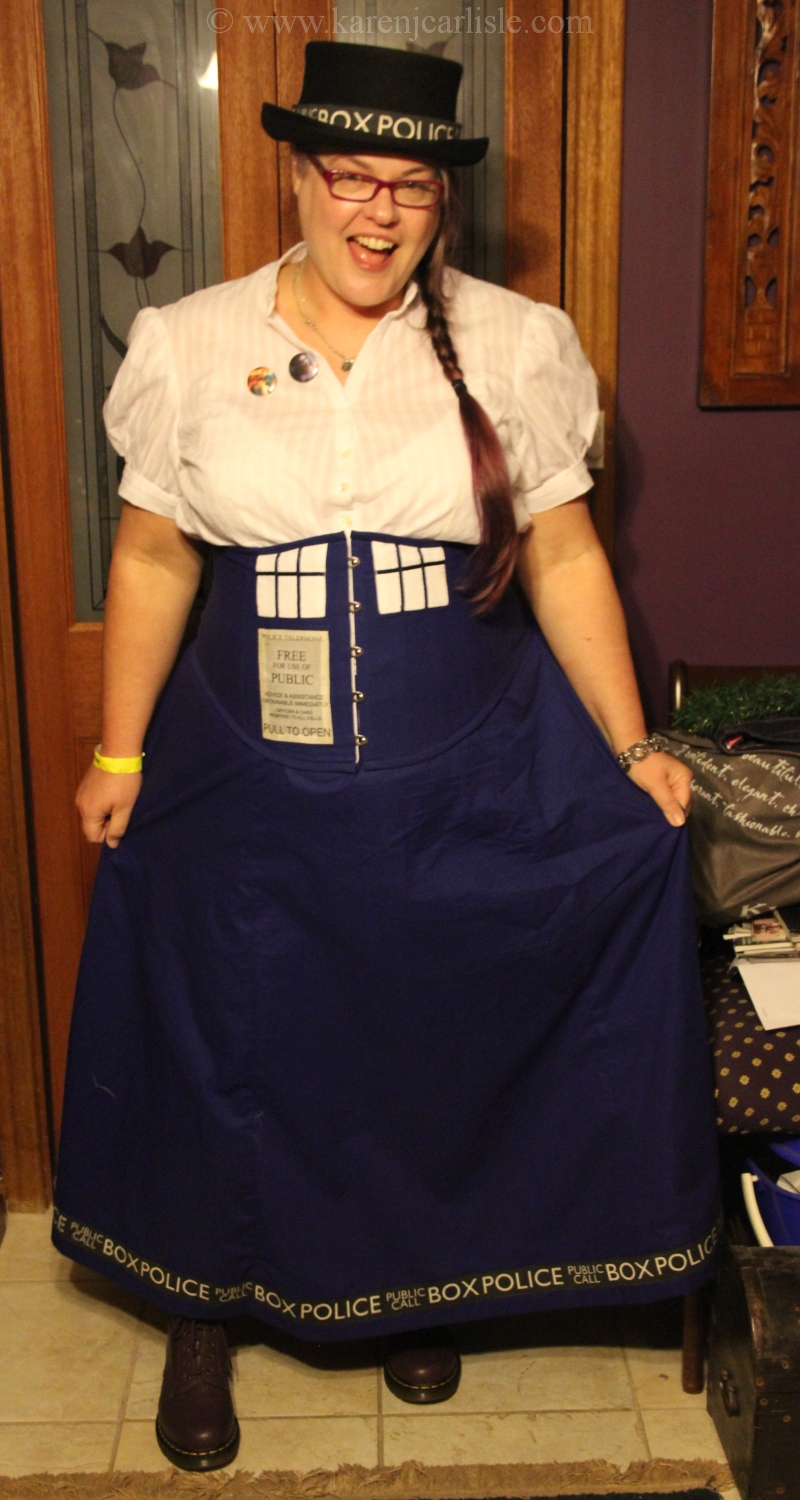
And here is the final outfit, complete with purple Docs – one happy Doctor Who fan!

[A big thanks to Lynne Cook (President Australian Costumers’ Guild) who helped with the fitting of the toile for the pattern for this corset.]
photos ©2017 Karen Carlisle and ©2017 D Carlisle. All rights reserved.