One thing I love about costuming is the challenge of creating something from materials already in my cupboard or, even better, upcycling something to make it useful again.
A few years ago I discovered ‘pocket belts’, made from old jeans. A great idea – especially if I could steampunk it up. I prefer carrying things hands free – around my hips or waist – as it puts less strain on my back and neck (home to all my stress and anxiety and have never been the same since a car accident, many years ago).
In the past I have bought cargo pants to cut up and make the pocket belt but, alas, I never had the courage to destroy a perfectly good pair of comfy pants.
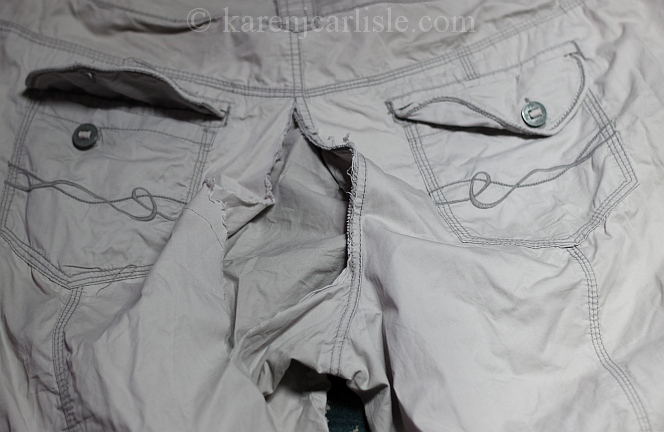
Well, they made the decision for me. My favourite cargo pants finally died; caught on something and ripped along the seam. Perfect opportunity for a new steampunk accessory just in time for the Time Travellers’ Picnic today.
How it was made:
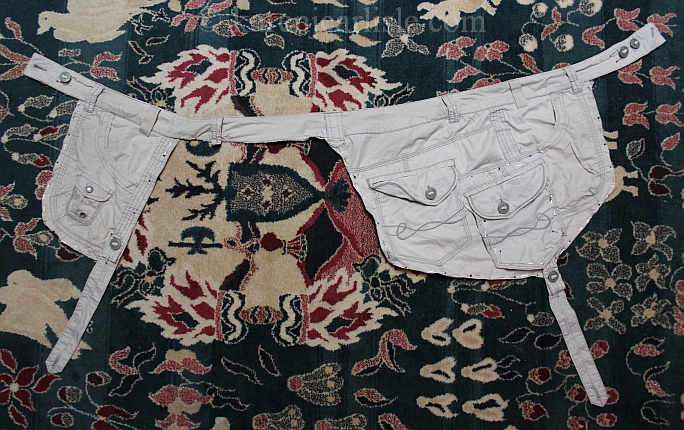
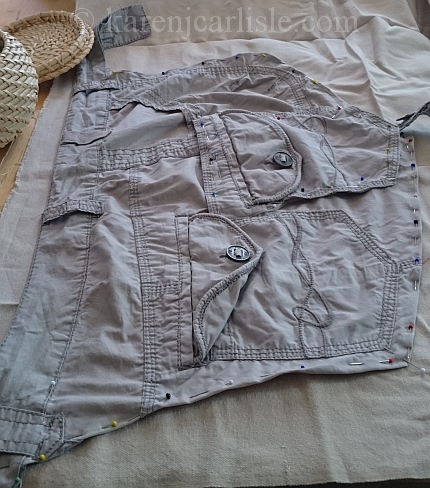
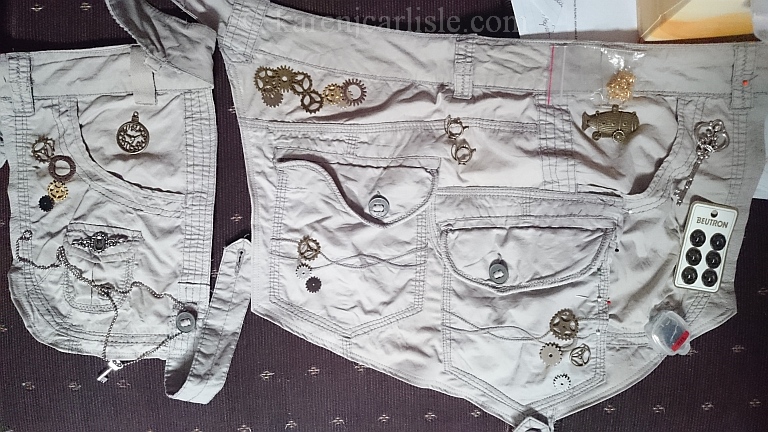
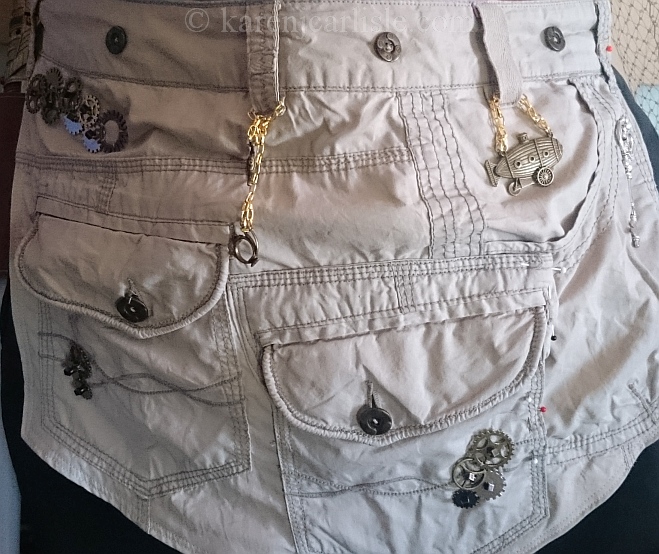
1. cut away everything except the waistband and pockets. To make them look less like saddle bags, I cut it unevenly. The second back pocket was repositioned to fill in the space between one of the front and back pockets. Leave a few centimetres ‘hem’ to turn over and pin.
(Tip: The transferred pocket overlapped the front pocket – don’t forget to hand sew this so it does not go through all the layers of the existing pocket and close it up.)
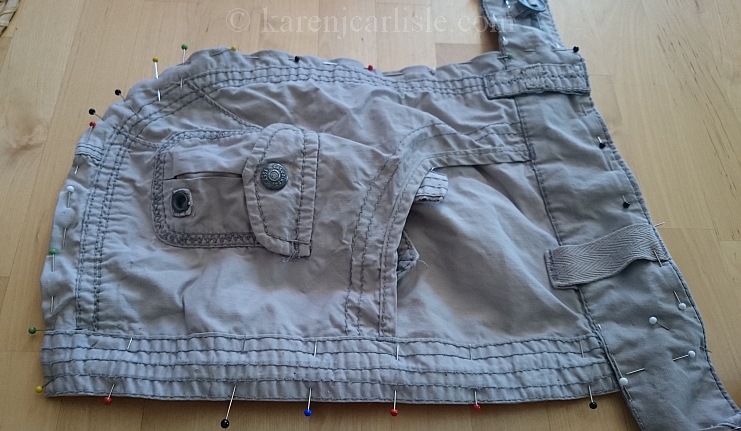
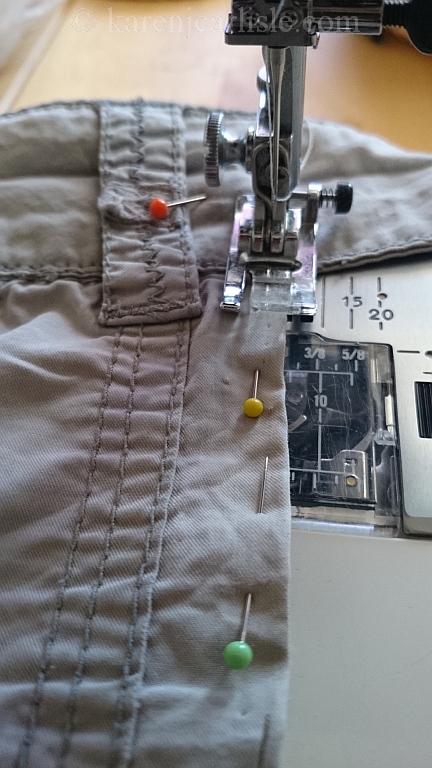
2. These were summer weight cargo pants, so I cut out a lining of linen to stiffen the belt. Fold over the seam, pin to back and sew it down.
3. This is the fun bit. Decorating.
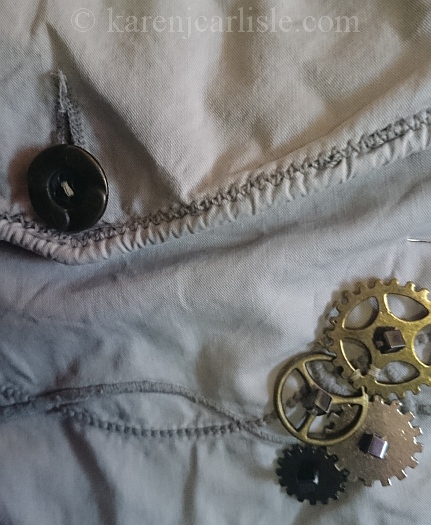
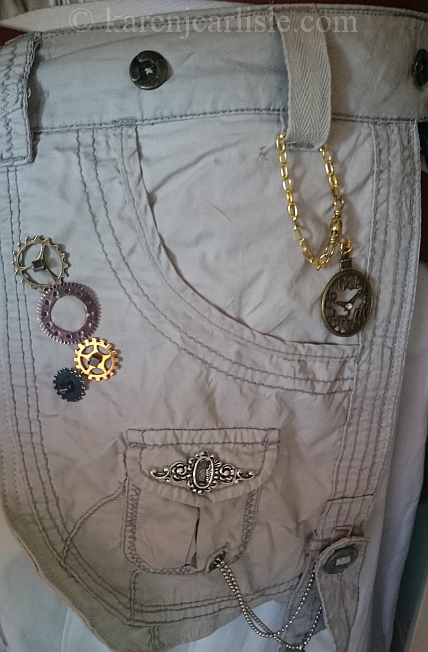
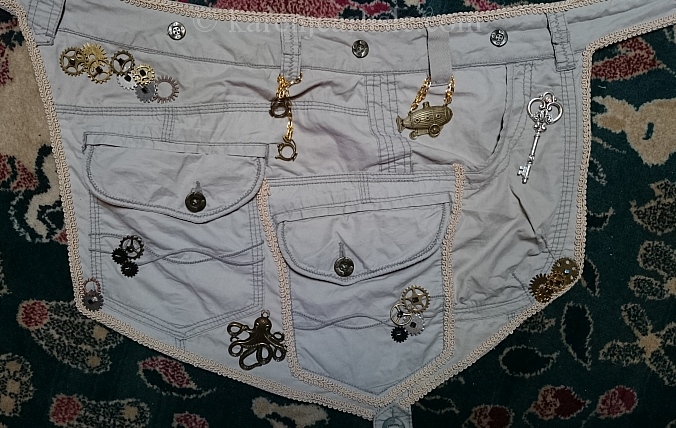
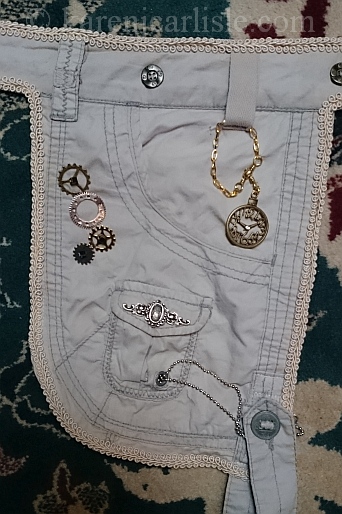
I pulled out my boxes of cogs, buttons and bits and bobs – many from Spotlight (I buy many on the half-price sales) or garage sales. I replaced the existing pocket buttons with something more steampunk-ish. Position them and sew them on. I used cubed beads to hold many of the cogs in place
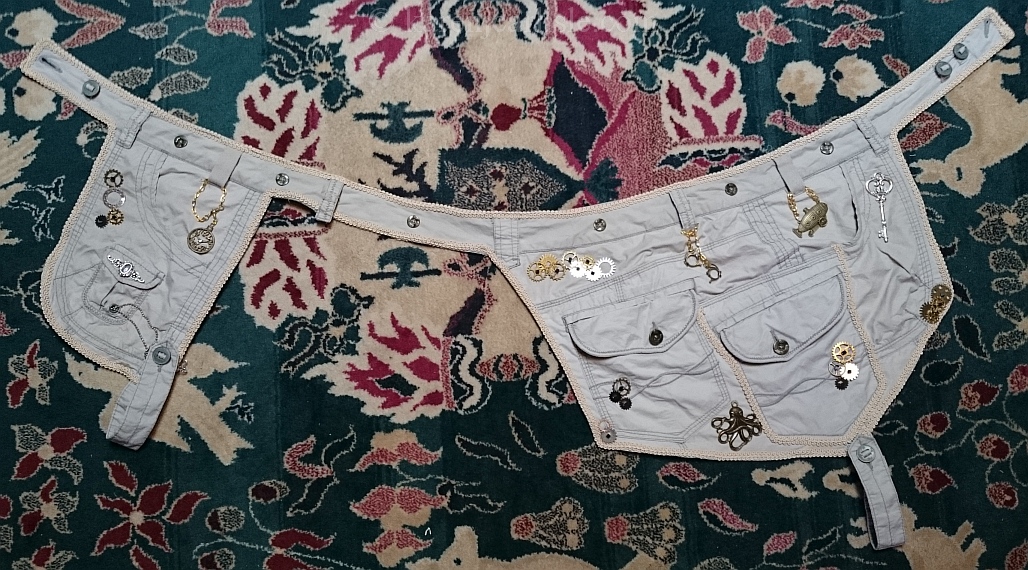
4. I edged the belt with braid to hide the stitching, to dress it up and stiffen those edges so they sat flat. The braid was the only specific purchase for this project. I had only black braid left in my stash – too much contrast for this project. I finished off the last roll they had in store – with only 6 centimetres left after I was finished! (phew).
The finished product, ready for the Time Travellers’ Picnic later today, complete with an octopus – of course!

